downstairs in Studio One, there too, is a flurry of activity!!!
"Mr. Ed" and I have made a joint effort
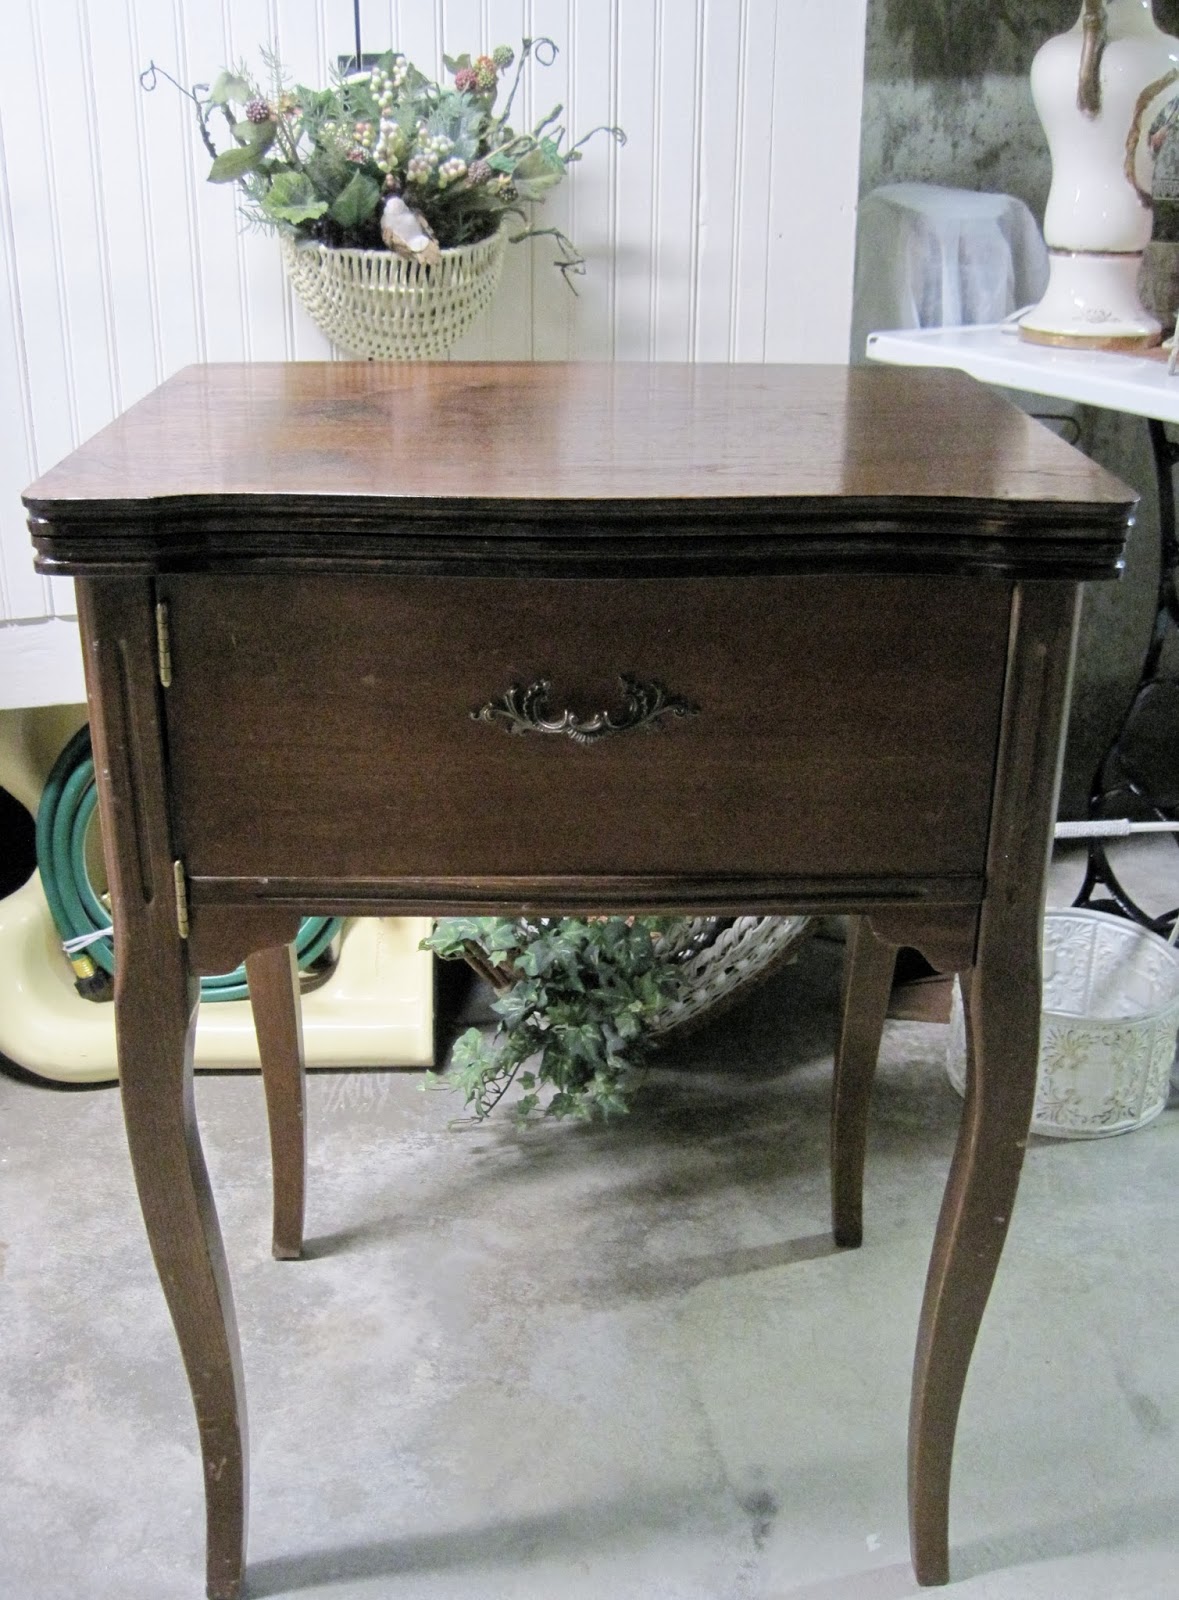
to turn this ordinary sewing machine cabinet. . .
into something extraordinary!
.JPG)
This sewing machine cabinet was purchased for a display cabinet
when I had a Handmade Cards with a Vintage Flair business in Studio One.
After closing the business,
I had planned to use this cabinet to hold my sewing machine.


So~o~o. . .
for several years it has set in Studio One.
Moved about from one~spot~to~another,
I decided it was finally time for a make~over!
"Mr. Ed" and I both took turns sanding the top.
Whatever had been applied in the 1930's kept "gumming up" the sandpaper!

Persistence paid off. . .
after "Mr. Ed" applied two coats of Dark Walnut stain
and a coat of protective sealer, I began to paint the bottom portion.

"Mr. Ed" removed the cabinet front for ease in painting.
On the back of the brass hinges was the word, Italy!
Had we not removed all the hardware, this would have gone without notice.

Coat #1. . .
gave me a hint of what the outcome of our combined efforts would become!

Coat #2. . .
While waiting for the paint to dry,
I painted the brass hardware the same hue as the cabinet base.
Then, I applied dry brushing to the outer detail of the cabinet pull
with a touch of creamy ivory paint to enrich the detailing!
.JPG)
.JPG)
.JPG)
We have had quite a chuckle about the "upside down" cabinet pull!!!
I think the center of the cabinet pull resembles a "crown"!
After reviewing the "before" photos,
"Mr. Ed" gladly changed the cabinet pull to the proper position!
We used MinWax Dark Walnut Stain for the cabinet top,
MinWax Polyurethane Clear Gloss Protective Sealant,
Sherwin~Williams Agreeable Gray for the cabinet base and
Sherwin~Williams White Hyacinth for the dry brushing technique.
I may add a bit more dry brushing,
but for now I am quite pleased with the sewing machine cabinet. . .
and even more saddened that my sewing machine won't fit inside!!!
.JPG)
.JPG)
So~o~o. . .
I'll be content to enjoy this lovely piece of furniture
until it is placed in our booth at the Unique Antique Market Spring Show!
.JPG)
Until next time. . .
On Crooked Creektt will be joining. . .

And. . .

And. . .

Debra @ Common Ground for Be Inspired Friday!
Be sure to visit these amazing hostesses
for you're sure to come away filled with inspiring ideas
for use in your own home decor!
6 comments:
Oh sweet Pat, what an adorable sewing machine cabinet, it's awesome! My mom had something quite similar, (not as pretty) with her Singer's machine inside it, as I loved to sew with her for my dolls, lol! You did a fab job, I truly love it!
Thanks for your sweet and kind visit, you made my evening!
Have a lovely and warm weekend.
FABBY
That is such a lovely cabinet, and now it looks spectacular, thank to your joint efforts!! I love the dark top and creamy base and the handle looks great in either position:):) have a great weekend.
The little sewing cabinet looks so good with the cream colored bottom and dark top. Great project and I'll bet it will be a big hit at the antiques show. Have a good weekend.
What a beautiful transformation, Pat. I love the new look of your cabinet.
Have a great week.
It certainly is pretty! The hardware really makes it special, and I love the the combination of the finishes. Lovely work!
Oh I love this piece and the transformation is fabulous. Thanks tons for linking to Inspire Me. Hugs, Marty
Post a Comment