Tuesday, October 28, 2014

Stylin' In Studio One. . .

Besides designing and creating unique merchandise
for our Bits 'n Pieces booth, my passion is styling!

Now that all the inventory is neatly packed away for our 2015 Markets,
I spent some time stylin' in Studio One!


Studio One, my creative space, 
is located in the unfinished portion of our lower level living area 
of our 1970's Ranch Style Home.

I adore the unfinished concrete walls!
Time~after~time, "Mr. Ed" has stated he would paint 
or cover those walls for me and my reply is always the same.

No, thank you. . .I love them just the way they are!


I relocated the painless window,
and placed it above my vintage three~drawer dresser.


After removing the vintage lace curtain,
I added the W I S H banner made in Studio One.


For protection from my many works~in~progress,
I placed some of the fabulous designer gift wrap atop the dresser.


The hue of the books pages mimic the same hue in the gift wrap,
so I simply turned the spine to the back.

Next, 
I added my vintage lamp with its custom ruffled lamp shade
atop the book and added a few whimsical white chippy birds.


The subtle pastel hued bird letter holder
is where I store my envelopes used in designing and creating
handmade cards with a vintage flair.


Celebrate
is one of the Christmas Cards made for our Bits 'n Pieces booth.


The Underwood vintage typewriter
was the model used to teach Typing 101 in my High School.
Amazing how hard it is now to push those keys down!

Hues from Studio One's color palette
is seen here in the stack of French Silk Ribbons.
The pedestal riser is one of many that "Mr. Ed" made for our booth displays. 


Although I was considering using a silver tray to place behind the typewriter,
I remembered that I had my beloved Grandmother's Retail Cigarette License.


The top dresser drawer of my vintage dresser
houses my ink stamps, cleanser and some alphabet rubber stamps.


The middle drawer holds the majority of my vintage inspired
scrapbooking papers, by hue, for all of my creative designs in Studio One.


The bottom drawer holds speciality papers for events and holidays,
assorted card stock and more rubber stamps.


This is the first thing I see as I enter Studio One.
The sight encourages and inspires me to begin creating.
It makes me smile!


Yes, there's more stylin' in Studio One. . .
but we'll save that for another day, another time.


Until next time. . .

* * * * * * * FYI * * * * * * *
An update for all who have inquired. . .
"Mr. Ed" will have surgery on Thursday
to the right carotid artery with the placement of a shunt.
We appreciate each and every prayer that has been said
on our behalf as we continue on the journey of life On Crooked Creektt.

 * * * * * * * * * * * * * * * *

On Crooked Creektt will be joining


And. . .


And. . .


And. . .


Be sure to visit these amazing host and hostesses

for you'll be filled with inspiring ideas 

to use in your own home decor!


Saturday, October 25, 2014

Funk & Wagnalls Wreath!

I adore designer brand name a n y t h i n g!

. . .and I l o v e designing and creating with paper!!!

So~o~o. . .
when I saw  a Book Page Leaves Autumnal paper wreath 
from Kathyat A Delightsome Life
I couldn't resist trying to make one for my own home decor!

While "Mr. Ed" was catching some of his largest Brown Trout to date,
I was busy cutting out paper leaves. 


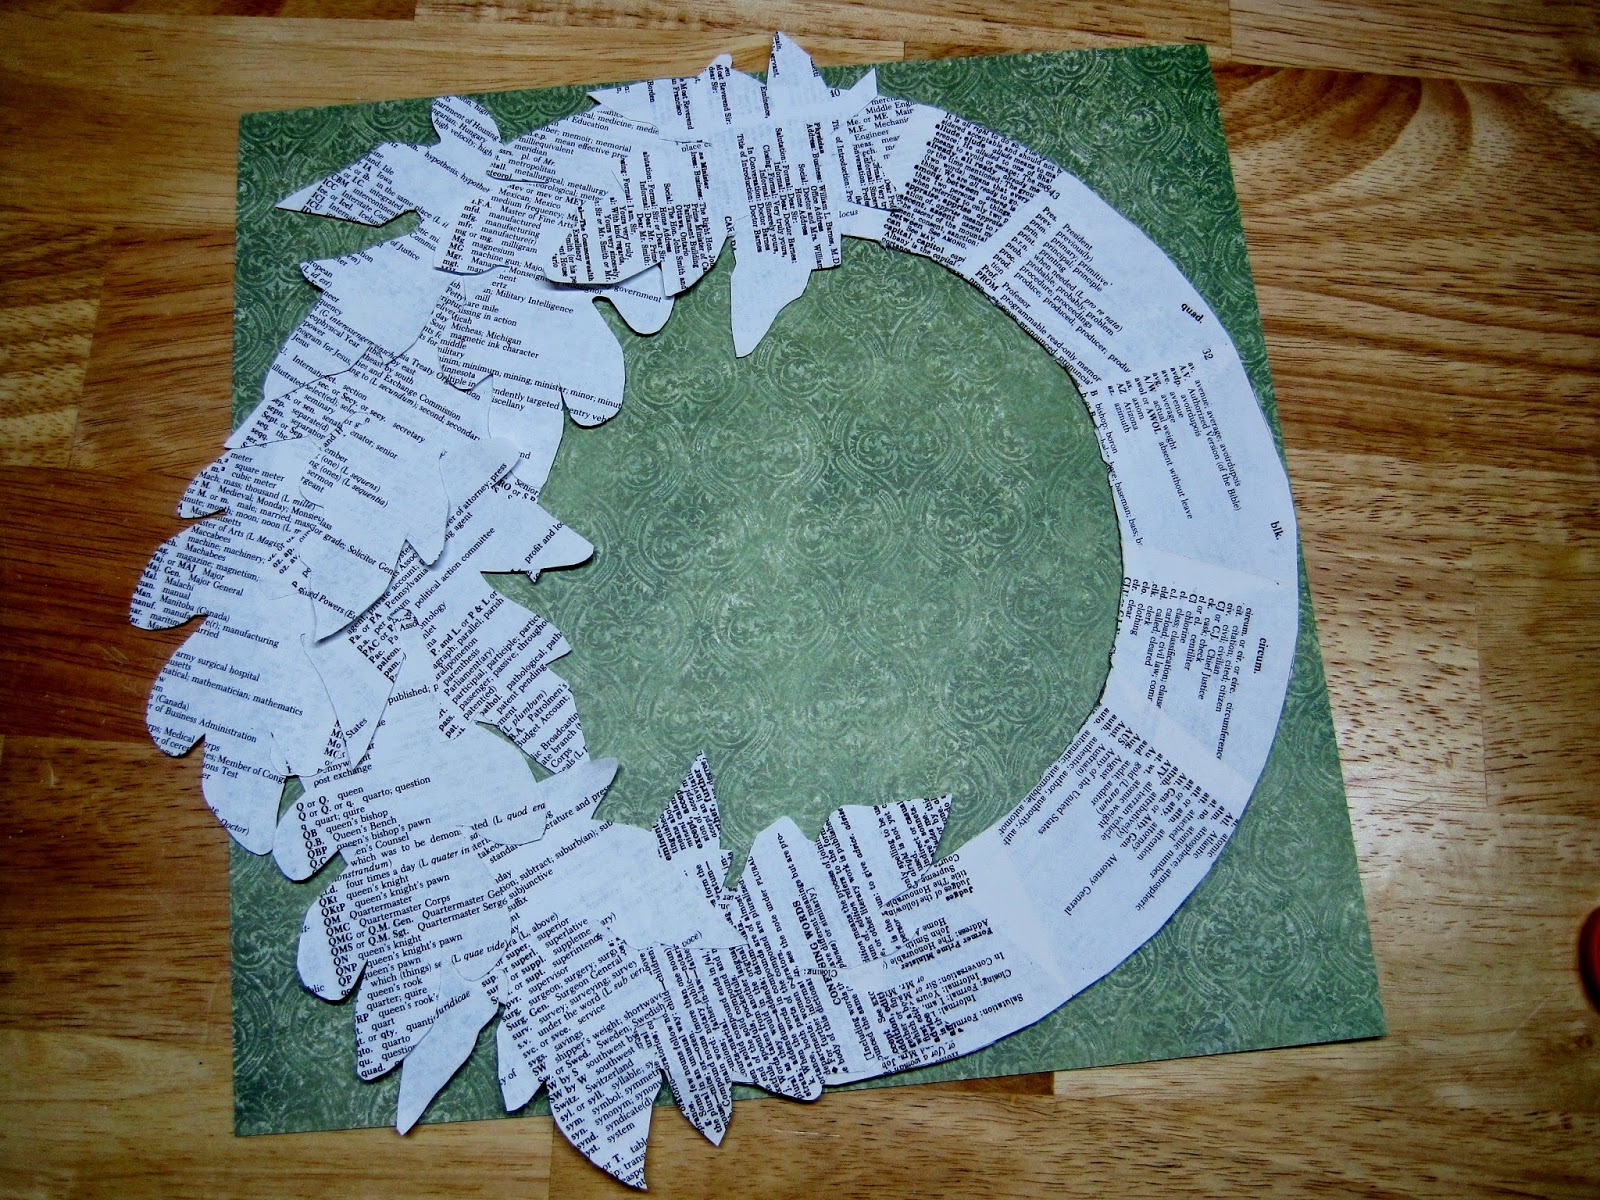
In the back of a Funk & Wagnalls Standard Desk Dictionary
was a section titled, Secretarial Handbook 
which I used as experimental pages to cut out the leaves.

I used one oak leaf pattern, the other two were maple leaves.

* * * * * * * Tutorial * * * * * * *

Three leaves.


Doubling the amount.
First, 
I cut 10 leaves from each pattern for a total of 30 leaves.


Tripling the amount.

Then,
I began arranging the leaves in a circular pattern.


I continued cutting and arranging the leaves,
until I had a clear visual idea of how the finished wreath would look.


Finally,
I placed them inside clear zip~loc bags for storing
until we arrived home to assemble the wreath.


Once we arrived home from our Annual Trout Fishing Trip to Bennett Spring,
I began the process of assembling the Autumnal paper wreath.


I had kept the scraps in a separate zip~loc baggie 
to camouflage the cardboard form.


"Mr. Ed" cut an 11 1/2 inch circle from cardboard using one of our dinner plates. 
The inner circle measures 7 3/4 inches and was cut using a dessert / salad plate.


I covered both the front and the back of the cardboard circle
with scraps of the dictionary sheets and trimmed for a custom fit.

The first row of leaves 
were angled around the rim of the cardboard and glued into place.


The second row was altered somewhat 
and placed onto the wreath using scrapbooking foam dots.


I'm quite pleased with the outcome of the wreath
as I view it from its drying place in Studio One.
* * * * * * * * * * * * * * * * * * * * *


The finished Autumnal paper leaf looks amazing 
in On Crooked Creektt's Dining Room.


On Crooked Creektt,
my very own original designer Funk & Wagnall Paper Wreath!


Until next time. . .


On Crooked Creektt will be joining


Susan @ Between Naps On The Porch for Metamorphosis Monday!

And. . .


Marty @ A Stroll Thru Life for Inspire me Tuesday!

Be sure to visit these amazing hostesses
for inspiring home decor ideas 
for use within your own home! 


Thursday, October 23, 2014

Boxin' Things Up. . .

Due to "Mr. Ed's" recent stroke and upcoming surgery,
a joint decision has been made not to participate 
in the 20th Annual Unique Antique Market~Fall Show~.


So~o~o. . .
as I was boxin' things up
I did a re~arrange of the lower level Family Room
in preparation of Christmas On Crooked Creektt.


Previously, 
I had moved my heirloom dining room table to the front of the fireplace 
in the Family Room placing it strategically closer to Studio One.


As merchandise for our Bits 'n Pieces Booth was completed,
I could easily place it on the table for pricing.

To keep the fireplace as our main focal point within the Family Room,
I began by moving the seating area into a configuration
designed for free flowing conversation.

By turning the sofa into a floating position,
I allowed for a separate Dining area within the Family Room. 


By placing my primitive red desk in the designated Dining area,
I now have a space that can be used for serving desserts.


Keeping the table top decor to a minimum allows for dessert plates,
napkins, flatware. . .and of course, dessert!


I removed the extension leaf from the heirloom Dining table
and placed seating on either side of the table for four.


This arrangement allows for movement within the area
for our family and guests during dining or table games.


Before boxing up the centerpiece, table runner and vintage spools
for our 2015 Bits 'n Pieces Fall Booth,
I decided to display them one last time on our dining room table.


Just beyond the table you can see our green folding screen
which cleverly disguises all the merchandise inventory. 

Boxin' things up. . .
allows "Mr. Ed" and I to concentrate on his upcoming surgery and recovery.


Until next time. . .


On Crooked Creektt will be joining


And. . .


And. . .


And. . .


Jody and Stan @ Simple and Sweet Fridays!

Be sure to visit each of these amazing host and hostesses
for you'll be filled with inspiring ideas for your own home decor.